“Hardness” comes up in almost every metal parts conversation—because it directly affects wear life, dent resistance, machinability, and how a part behaves in service. But hardness is also one of the most misunderstood specs. People often use it as a catch-all for “strong” or “durable,” even though hardness is its own measurement with its own test methods and limitations.
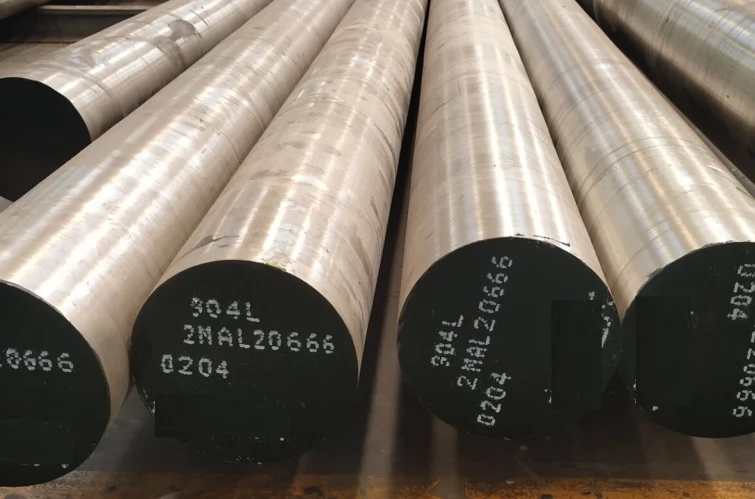
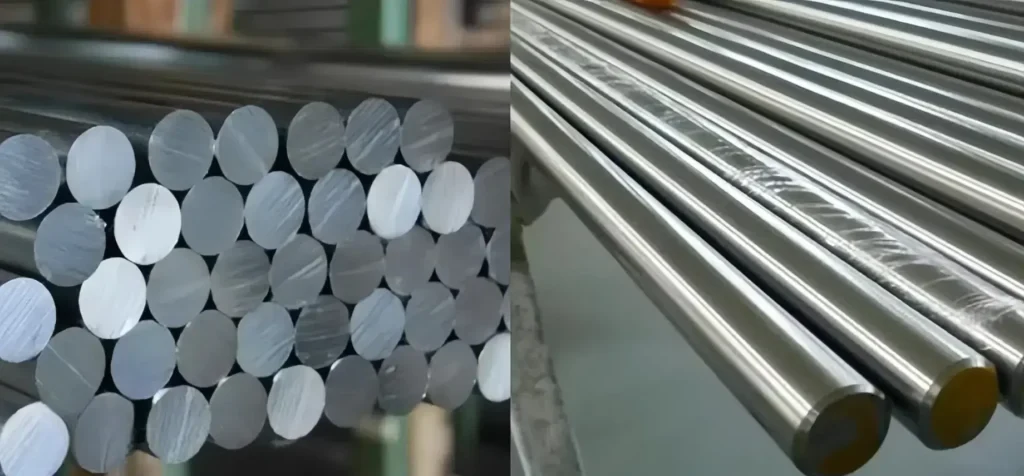
In day-to-day manufacturing, hardness is most useful as a repeatable quality check. It helps confirm whether a part is in the right material condition, especially after heat treatment. That’s why we pay close attention to hardness at HDC-Herstellung when we produce custom metal parts across casting, forging, and CNC-Bearbeitung—particularly for projects where heat treatment is used to hit a specific performance target (wear surfaces, pins, shafts, hinge components, and load-bearing interfaces).
What hardness actually is (without the textbook explanation)
Hardness is best understood as resistance to indentation—how much a material resists being pressed by a standardized indenter under a controlled load. It’s not a single universal “material constant.” The number you get depends on the method used, which is why hardness values are written with a scale such as HRC, HRB, HV, oder HBW.
Practically, higher hardness often correlates with better wear resistance and sometimes higher strength, but it can also reduce ductility and tolerance for impact. So “harder” is not automatically “better.” The right hardness is the one that matches your part’s job.
How hardness is specified on drawings and purchase orders
Most real-world specs come down to three things: the scale, the target range, and where it applies. A good callout looks like “HRC 38–42” or “HV 320–360,” and sometimes it includes a test location or a note that hardness applies after heat treatment.
This matters because hardness can vary across a part. For example, a thick casting boss and a thin rib may not cool the same way. A forged blank may have areas that respond differently if geometry creates uneven cooling. Even finishing steps can matter—plating, coatings, or decarburization layers can affect what you measure if the test point isn’t chosen carefully.
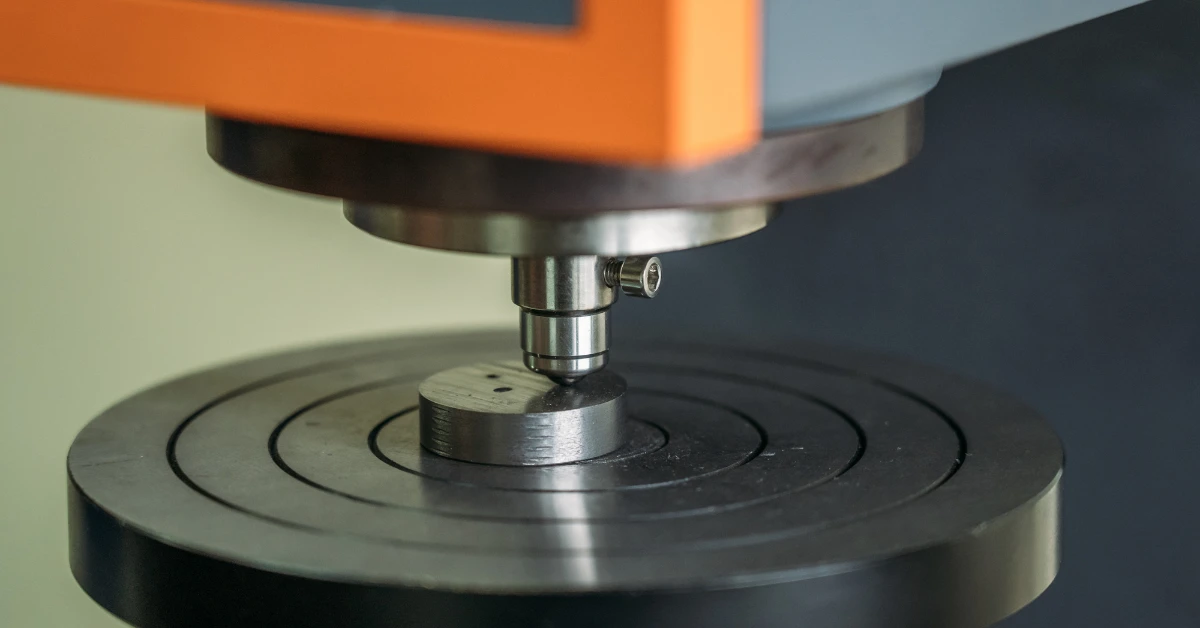
The main hardness tests and when each one makes sense
Most buyers will encounter three common tests—Rockwell, Vickers, and Brinell—plus microhardness tests for thin layers.
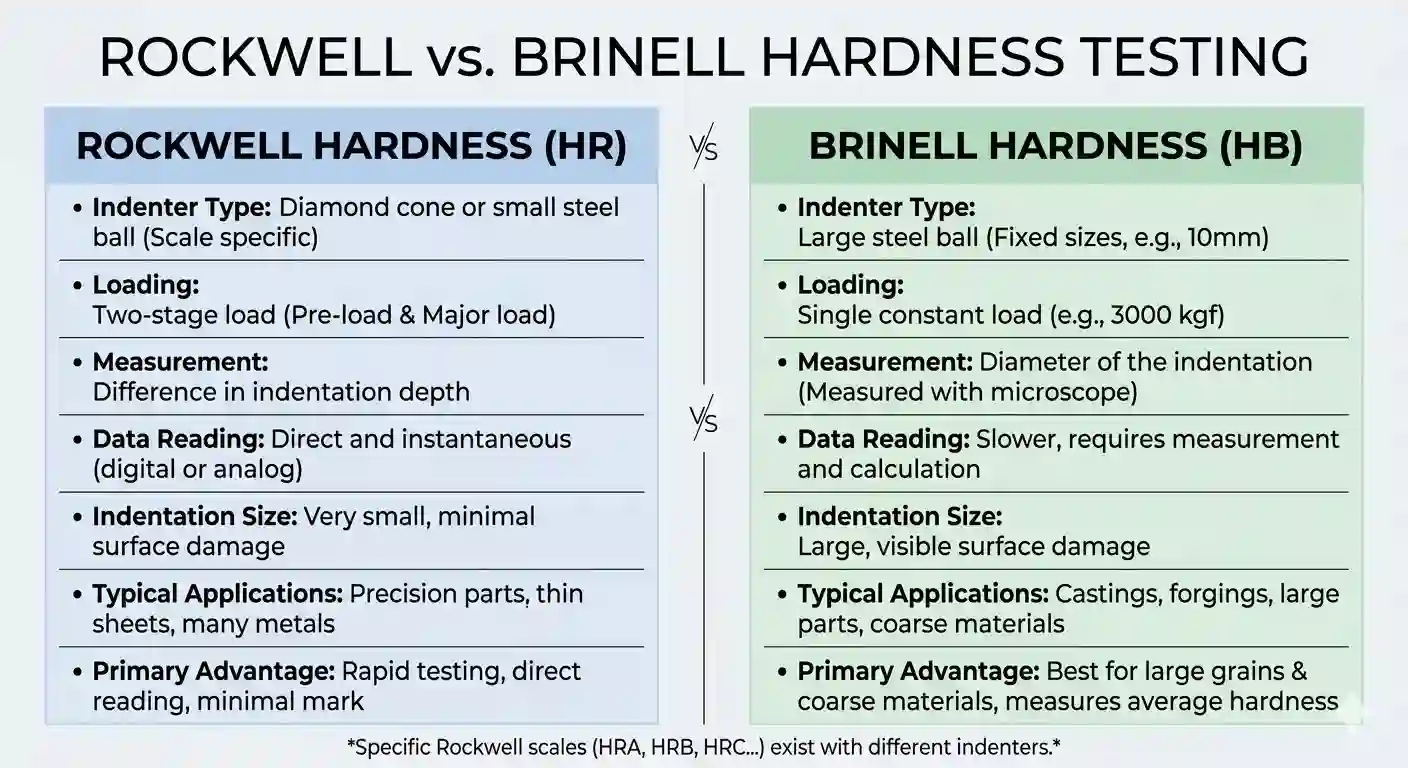
Rockwell is popular on production floors because it’s quick and easy to repeat. It’s a practical “go/no-go” method for many steels and general metal parts, and it’s standardized under ASTM E18 (Rockwell hardness of metallic materials). You can see the standard reference here: ASTM E18.
Brinell uses a larger indenter and is commonly used for castings and thicker sections, especially where surface texture isn’t mirror-smooth. Vickers is more versatile across a wide hardness range and is often used when you need finer control, smaller indents, or more “lab-like” reporting. For very thin coatings, case layers, or small features, microhardness methods (like Knoop or micro-Vickers) are often the only realistic choice.
If you need Rockwell method alignment internationally, ISO defines the Rockwell method as well (e.g., ISO 6508-1).
Why hardness readings don’t match between suppliers (the hidden reasons)
Hardness testing looks simple—until two shops test the same part and disagree. In practice, the differences usually come from a handful of predictable causes.
Surface condition is a major one. Scale, coatings, machining marks, decarb, or even shot blast texture can shift readings because the indenter isn’t seeing a consistent surface. Part support is another common issue: thin sections can flex during the test, which can make a part read “softer” than it really is. Test location matters too—checking on an edge, on a thin wall, or too close to another indent can skew results.
Finally, calibration and traceability matter. Hardness is only useful if your results are stable over time. That’s why organizations like NIST focus on hardness traceability and measurement consistency (overview here: NIST Hardness Standardization and Measurements).
Choosing a hardness target based on what the part actually does
A practical way to choose hardness is to start with the failure mode you’re trying to avoid.
If the part is primarily about wear (sliding contact, abrasive exposure, repeated rubbing), you generally want higher hardness—but you also need to avoid making the part too brittle for impact or misalignment. If the part is a load-bearing component that sees shock or bending, you often choose a moderate hardness that keeps toughness. If the part is mainly a precision interface (bores, sealing faces, datums), consistency and distortion control may matter as much as the hardness number.
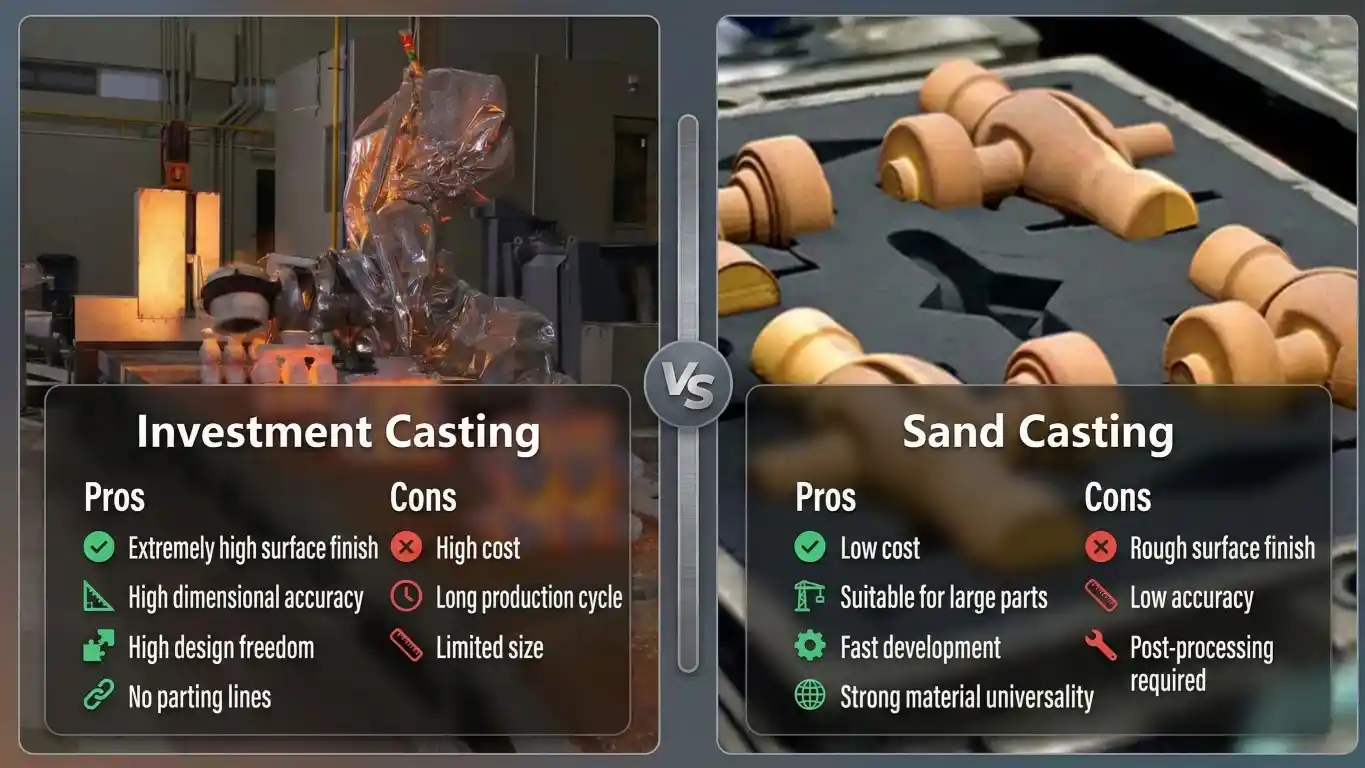
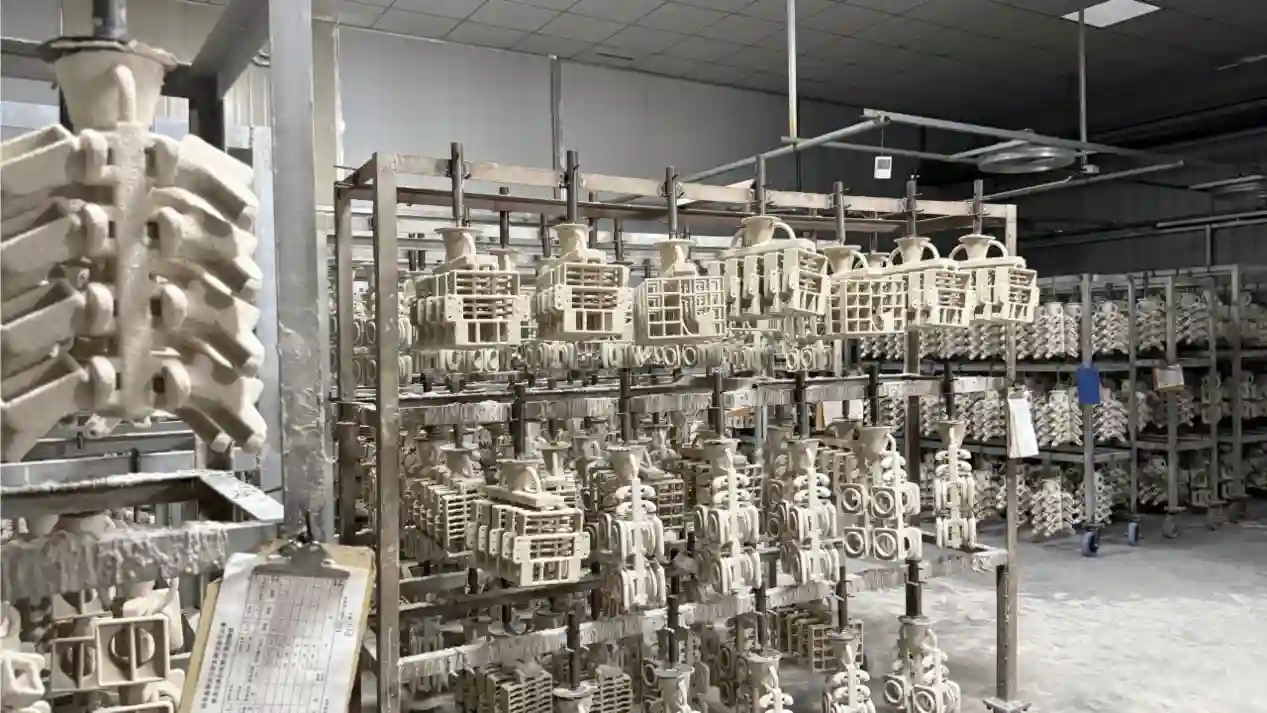
This is where casting vs forging vs machining comes into play in a very practical way:
- Casting projects:Buyers often care about stable machining and consistent results across batches. Hardness checks are useful here because they quickly reveal whether the casting condition is drifting (which usually shows up later as surface finish changes, tool wear changes, or inconsistent cleanup stock).
- Forging projects:Forgings are commonly chosen for durability, but the target hardness still needs to match the load case. Too hard and you can create brittle behavior; too soft and wear surfaces won’t last. The “right” hardness often comes from the right heat treat route, not from guessing.
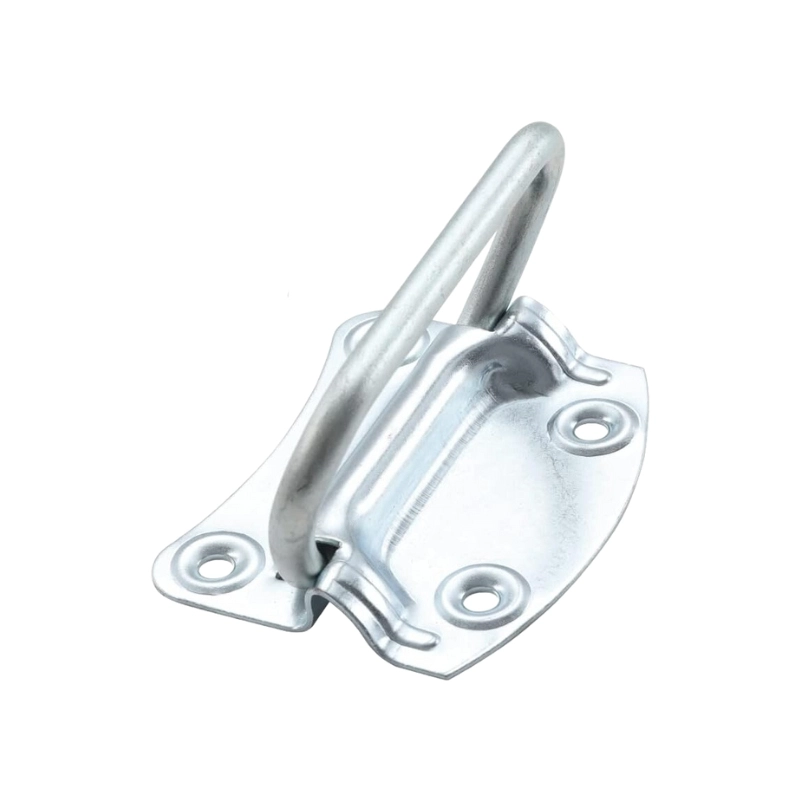
- Piano hinges and hinge hardware:This is a surprisingly good example of practical hardness. Piano hinges are sensitive to pin wear, knuckle deformation, and long-term smooth movement. If hardness is too low, the knuckles can oval out and the hinge loosens; if it’s too high without the right toughness, you can get cracking at thin sections or around formed features. And if the hinge is plated or coated, hardness testing needs to be done on the correct surface or on a representative coupon so the reading reflects the base metal condition.
Because HDC Manufacturing covers casting, forging, CNC machining, and heat treatment under one roof of capability, we usually treat hardness as part of a complete plan: pick the right starting process for the blank, apply heat treatment to reach the target condition, then machine critical features to final tolerance and verify hardness where it matters.
How hardness is controlled in manufacturing (what actually moves the needle)

Hardness control starts with material selection, but the biggest lever is usually Wärmebehandlung—and the discipline to run it consistently.
For steels, hardness is typically increased through routes like quenching and tempering, induction hardening, or case hardening (hard surface with a tougher core). For precipitation-hardenable alloys (many aluminums), hardness is achieved through controlled solution/aging cycles. For iron castings, chemistry and cooling behavior heavily influence hardness and machinability.
In production terms, control means controlling the variables that change the result: temperature uniformity, soak time, quench media condition, tempering parameters, part loading, and cooling consistency. It also means planning for distortion, because the same steps that increase hardness can introduce residual stresses and movement—especially on thin geometries, long parts, or asymmetrical shapes.
This is why it helps when the same team can coordinate process steps. When heat treatment is aligned with machining strategy (machining before vs after heat treat, stock allowances, finish grinding decisions), you don’t just hit a hardness number—you hit it without sacrificing dimensional requirements.
How to specify hardness so you get predictable results
If hardness matters, make it easy to test and hard to misunderstand. Specify the scale (HRC/HV/HBW), provide a reasonable range, and identify the test location or functional zone. If the part has a surface-hardening requirement, separate surface vs core expectations. If the part will be plated, coated, or heavily blasted, clarify whether hardness is checked before finishing, after finishing, or on a reference sample.
Most costly hardness problems aren’t “bad heat treat.” They’re unclear requirements, wrong test location, or an expectation that one hardness value guarantees everything else. When the spec is clear, hardness becomes one of the simplest, fastest ways to keep quality stable.
FAQ: Hardness (useful, real questions)
Which hardness test should I ask for if I’m buying machined parts?
If you want fast production verification, Rockwell is commonly used. If the part is thin, small, or needs tighter reporting, Vickers/microhardness may be more appropriate. The best test is the one that fits your part thickness and surface condition.
Can I measure hardness on a plated or coated part and trust the number?
Not always. Coatings and surface treatments can affect readings depending on thickness and test method. If hardness is critical, define where and when hardness is tested (often before coating, or on a representative coupon).
Why does my part machine “hard” even though it meets the hardness spec?
Hardness is only part of machinability. Microstructure, inclusions, surface condition, and local hard spots can change tool wear and finish even if the overall hardness meets spec.
Should hardness be checked on every part or per batch?
It depends on risk. Many buyers accept batch-level verification with stable processes. For critical safety or wear parts, tighter sampling or 100% checks on specific features may be justified.
What’s the most common mistake people make with hardness requirements?
Specifying a hardness number without specifying the scale, test location, or whether it applies after heat treatment and finishing. That’s how you end up with “technically compliant” parts that still don’t behave as expected.
Fazit
Hardness is one of the simplest numbers on a drawing, but it influences a lot of real outcomes—wear life, machinability, dimensional stability, and long-term reliability. The key is to treat hardness as a controlled, testable requirement: specify the right scale and range, test it in the right location, and align it with the part’s function instead of chasing the highest value. When hardness targets are planned together with the manufacturing route—casting or forging for the blank, heat treatment to reach the required condition, and CNC machining to finish critical interfaces—you get parts that don’t just “pass hardness,” but also machine consistently and perform the way they’re supposed to in service.