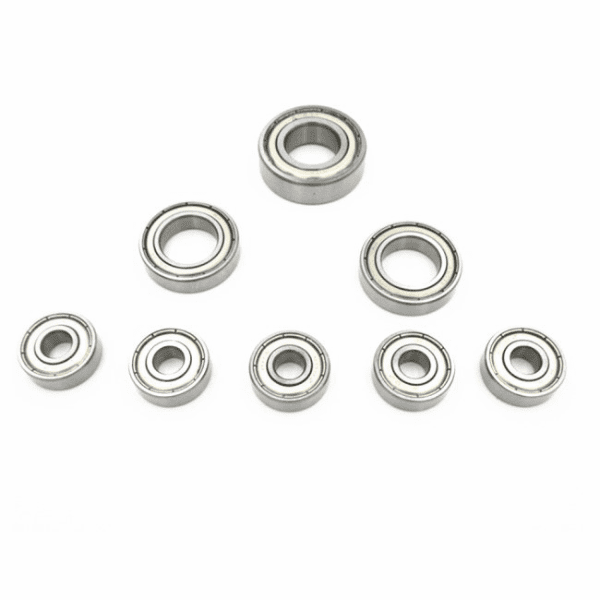
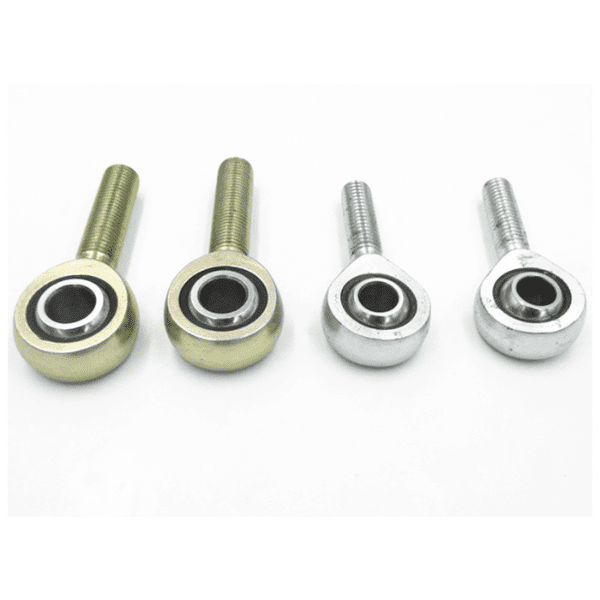
Go Kart Bearings Provided By HDC
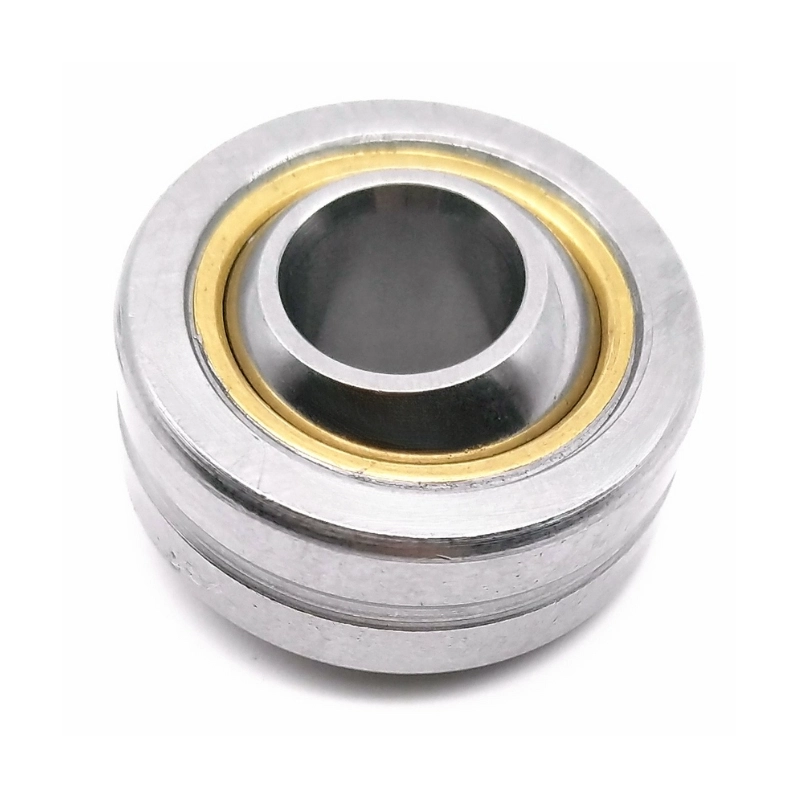
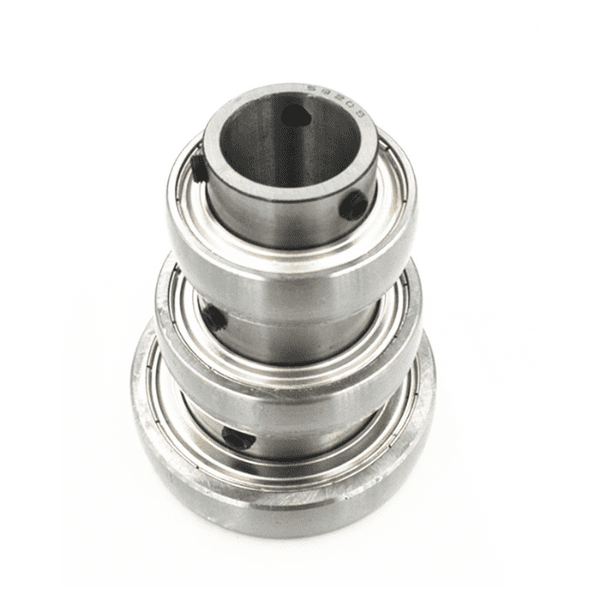
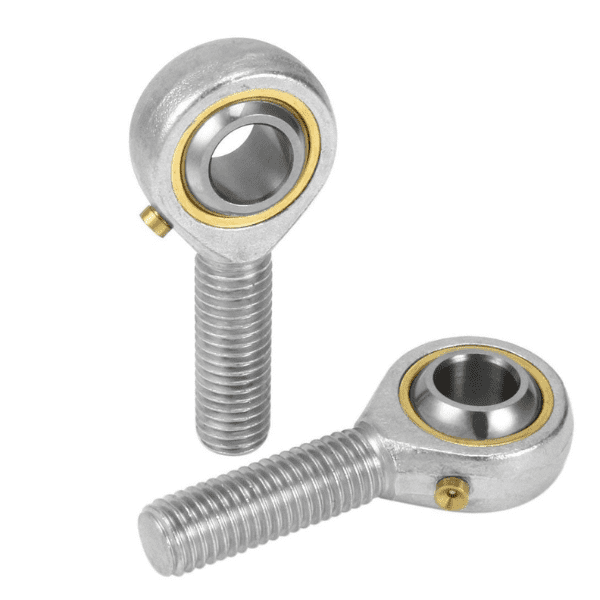
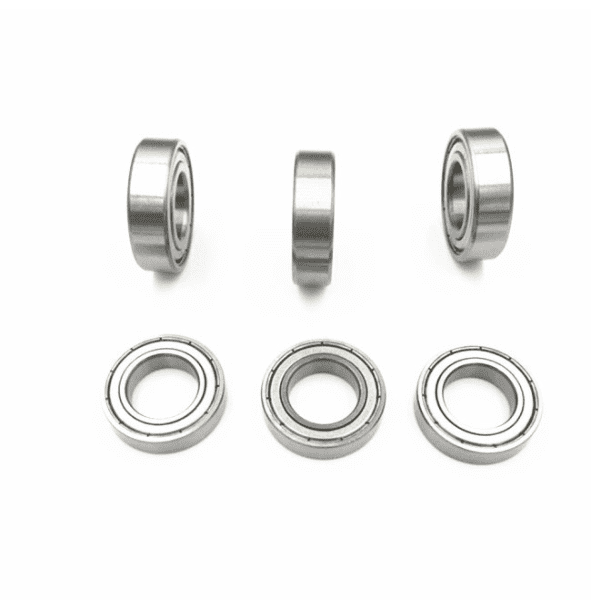
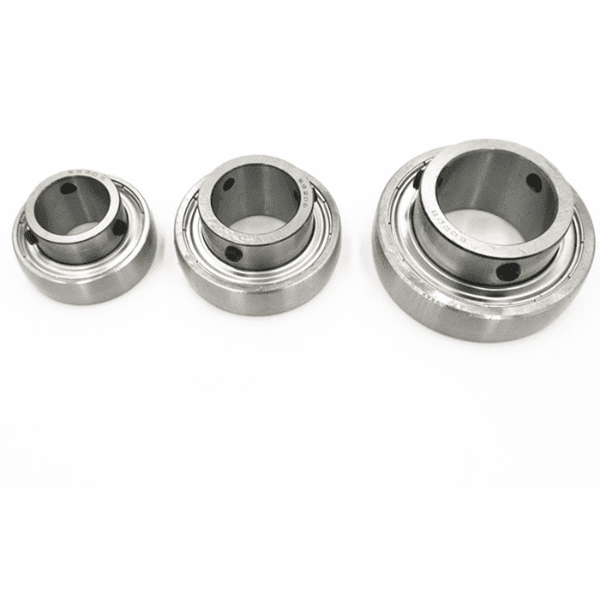
Currently, our kart bearings product line includes axle bearings, wheel bearing, tie rod ends ,Each of these bearings is designed to offer superior performance and durability, ensuring that your kart runs smoothly and reliably even under tough race conditions.
At the same time, We also can customize the unstandard bearings to meet your various needs.so if you’re in need of new bearings or tie rod ends, we’ve got you covered.
Contact us today to learn more about kart bearings and see how we can help take your racing game to the next level.
Different Types of Kart Bearing and Their Specifications
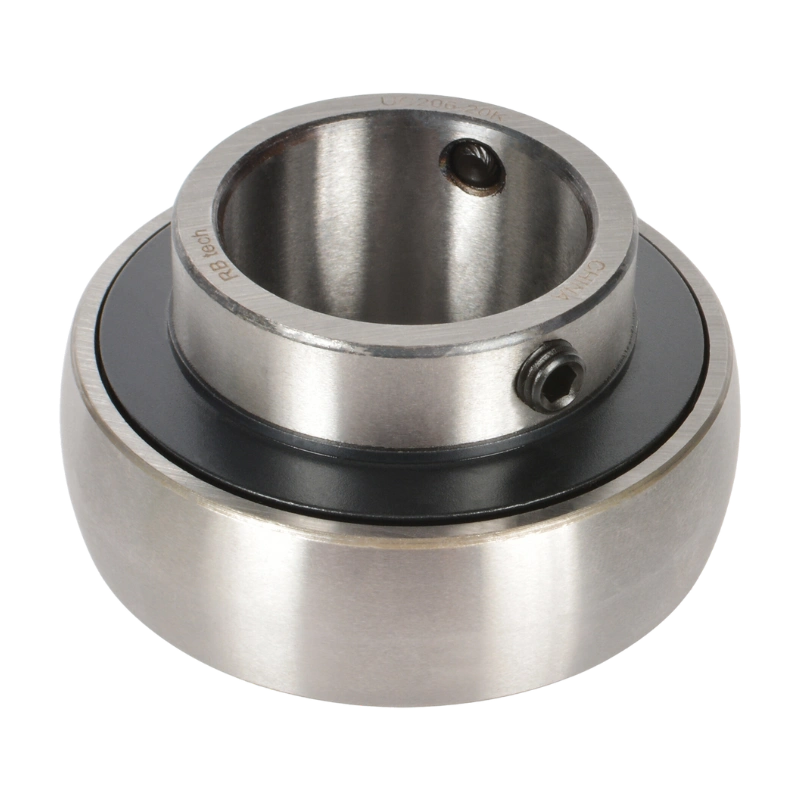
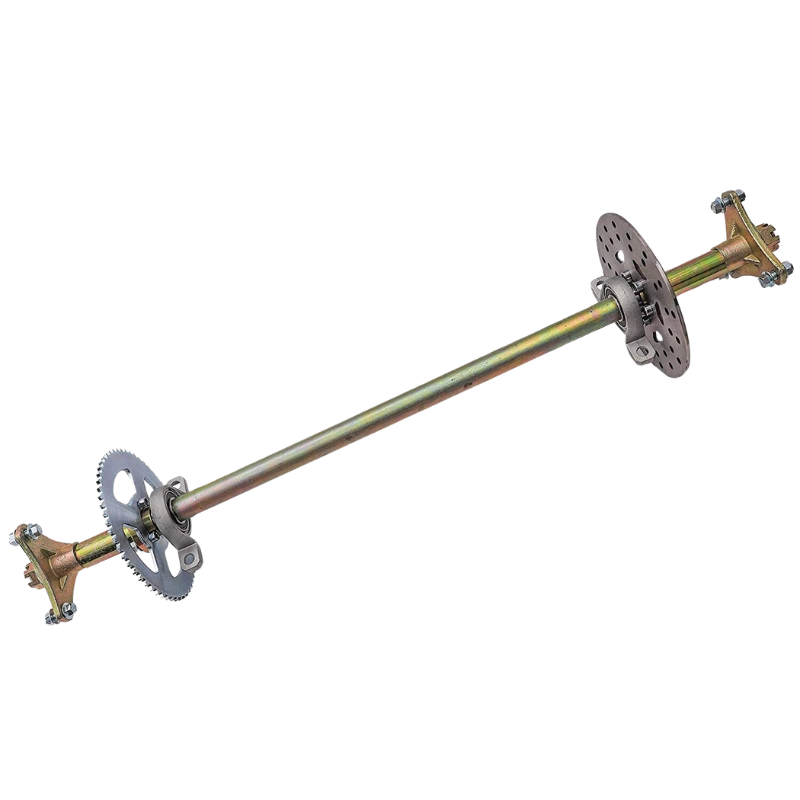
Kart axle bearings are a key component of the kart’s rear axle assembly. These bearings are designed to reduce friction and ensure smooth rotation of the axle. High-quality kart axle bearings can reduce wear and tear, leading to better performance and longer lifespan for your kart.
Type | Size | I.D. | O.D. |
Axle bearing | 25mm Axle | 25mm | 52mm |
Axle bearing | 30mm Axle | 30mm | 62mm |
Axle bearing | 40mm Axle | 40mm | 80mm |
Axle bearing | 50mm Axle | 50mm | 80mm |
Axle bearing | 50mm Axle | 50mm | 90mm |
Kart wheel bearings are an essential part of any kart’s running gear. These bearings are responsible for ensuring smooth wheel rotation, which is crucial for optimal performance on the race track. Quality kart wheel bearings can help to reduce friction and wear and tear, leading to increased speed and longevity of your kart.
Type | Size | I.D. | O.D. | Width |
Wheel bearing | 17mm Spindle | 17mm | 35mm | 10mm |
Wheel bearing | 25mm Spindle“OTK Size” | 25mm | 42mm | 12mm |
Wheel bearing | 25mm Spindle “all others” | 25mm | 42mm | 9mm |
Kart tie rod ends are a critical component of the steering system, connecting the steering shaft to the front wheels. They help ensure precise handling and control of the kart, which is essential for achieving high speeds and better lap times. High-quality kart tie rod ends are necessary to ensure optimal performance and safety on the race track.
Type | Material | Thread | |
Rod End | Steel+PTFE | M8X1.25 | Right+Left |
Rod End with Nipple | Steel+Bronze | M8x1.25 | Right+Left |
FAQs About Go Kart Bearings
The first thing you want to do is go over to your bench vise and open it up so that you can fit the part of the hub down inside of the device. You can do it up a little bit, but you don't want to crank the vise up where you're going to bend all the studs. And then give yourself a pin punch and a hammer, and we're just going to knock out the old bearings.
So now you're going to insert the pin punch down through this bearing and knock the bottom bearing out. Now what you want to remember is that it's a pretty tight fit, so don't just slam one side of the bearing; otherwise, the bearing's gonna tilt over and damage the housing of the magnesium. So just a couple of light taps, this side, then that side, then that side, then that side.
The next thing we're going to do is grab the front hub and turn it over and knock off the bearing from the other side. So now that you've adjusted the vise so that you can sit the hub just on this part of the vise drawers, and then we can tap this bearing out.
So now that you've knocked out the bearings, it's time to give it a bit of a clean and then install the new bearings. Just be careful of that when you're hitting the bearings out.
Next up, get your new bearing and just get it started on the top of the hub, and then just go around the edges of the bearing with the hammer and slowly but surely tap it down. Now you don't want to slam the hammer down on the inner race as it can damage your bearing, but if you just tap it down on the outsides like so.
Remove the wheel from the axle.
- Wipe off Excess Dirt and Grease: Use a rag or paper towel to wipe off any excess dirt, debris, and old grease from the bearings and their housing.
- Apply Cleaning Solvent: Use a cleaning solvent or degreaser to dissolve the remaining grease and grime on the bearings.
- Brush and Scrub: Use a small brush (a toothbrush works well) to scrub the bearings and remove any remaining dirt. Pay close attention to the spaces between the rollers and the bearing surfaces.
- Rinse and Dry: You can use compressed air or allow them to air dry.
- Inspect for Damage: While cleaning, inspect the bearings for any signs of damage, wear, or rust.
- Lubricate the Bearings: Once the bearings are clean and dry, it's important to lubricate them with high-quality bearing grease.
- Reassemble: Make sure they are seated properly and secured according to the manufacturer's specifications.
- Reattach the Wheel: Slide the wheel back onto the axle and secure it with the appropriate nuts.
- Test the Bearings: Spin the wheel to ensure that the bearings rotate smoothly and without any unusual noises or resistance.
- Lift the Go-Kart
- Remove the Wheel: Use appropriate wrenches or sockets to loosen and remove the nuts securing the wheel to the axle. Gently slide the wheel off the axle.
- Access the Bearing
- Remove the Old Bearing
- Clean the Area
- Install the New Bearing: Apply a thin layer of grease to the inside of the hub or spindle where the new bearing will sit. This helps with lubrication and installation.
- Reassemble: If you removed additional components, such as dust caps or cotter pins, make sure to put them back in place.
- Grease the Bearing
- Reattach the Wheel
- Lower the Go-Kart
- Test and Inspect: Roll the go-kart back and forth a few times to ensure that the wheel spins freely and smoothly. Listen for any unusual noises or resistance.
First things first, we're going to remove the hubs and the wheels. but the same principles apply whether there is a 40, 50, or 30-millimeter axle as this little rocky ever has. remove the axle keyways, grab yourself a set of side cutters, and with some firm pressure, you can just hold the keyway with the side cutters and use some leverage against this part of the tool off the axle and just pull that keyway straight out. Before we go any further, we're going to loosen off the brake disc hub and remove all the axle grub screws.
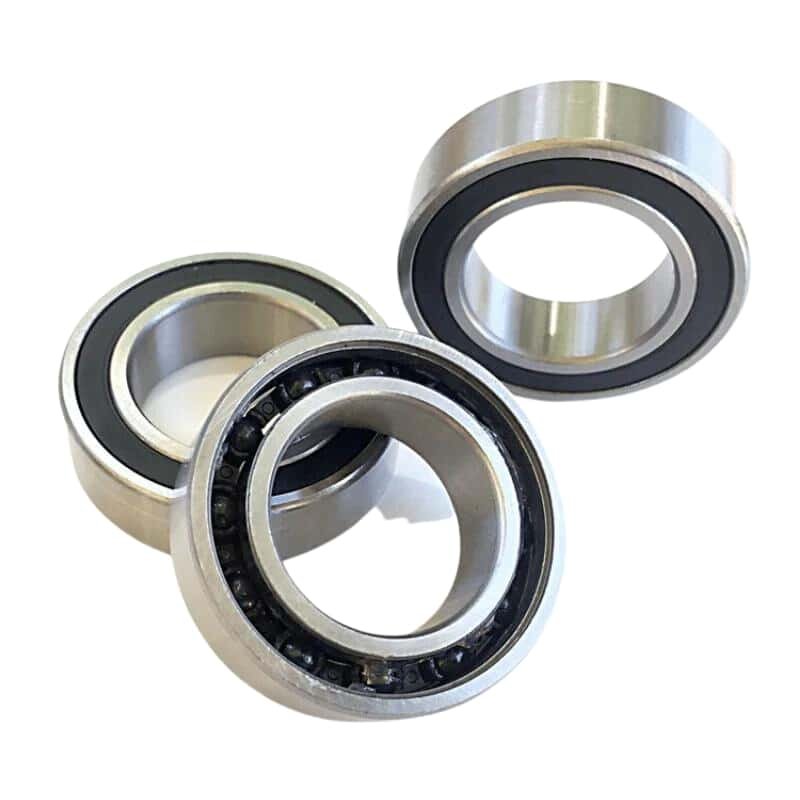
To get the bearings out of the cassettes, you're pretty much going to have to remove them from the go-kart. Before you remove the bearing from the cart, it could be a good idea to mark the hole positions that you were using so you can put it back in the same position when you reinstall the new bearings.
Now we're going to rotate the bearing inside the housing and get the spherical part of the bearing into these grooves and then we can remove the bearing straight out of the cassette. So first things first, we're going to loosen up the retaining screw. Now this acts as a little clamp so that once you've got the bearing in its final position in the cart, you can do this guy up and it stops it from moving. So now reinstall the bearing on the axle, and with a soft hammer, you can just tap the bearing around, rotate the bearing to 90 degrees, and then we're just going to spin it inside the cassette because we've got a like a spherical edge here and the same inside the bearing housing. So if we just rotate that to there, if I flip the bearing over, you can see this is where we marked it with the texture earlier, and that's the in and out hole.
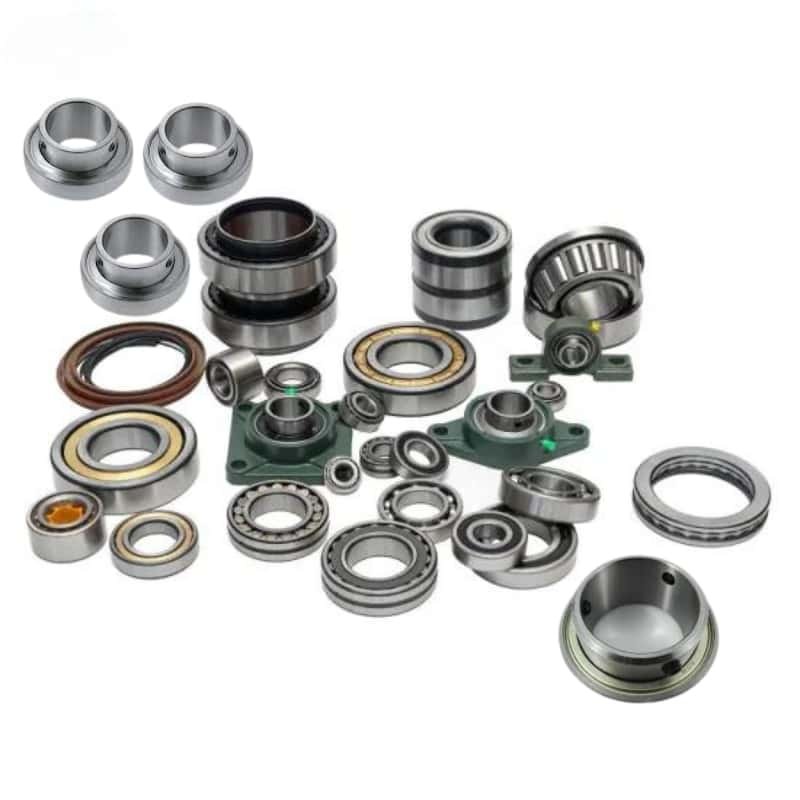
Now to put the new bearing in, it's a repeat of the removal process where we put it in through the holes, put it back on the axle, and then we can just tap it with the soft hammer.
Types of Kart Parts Provided By HDC
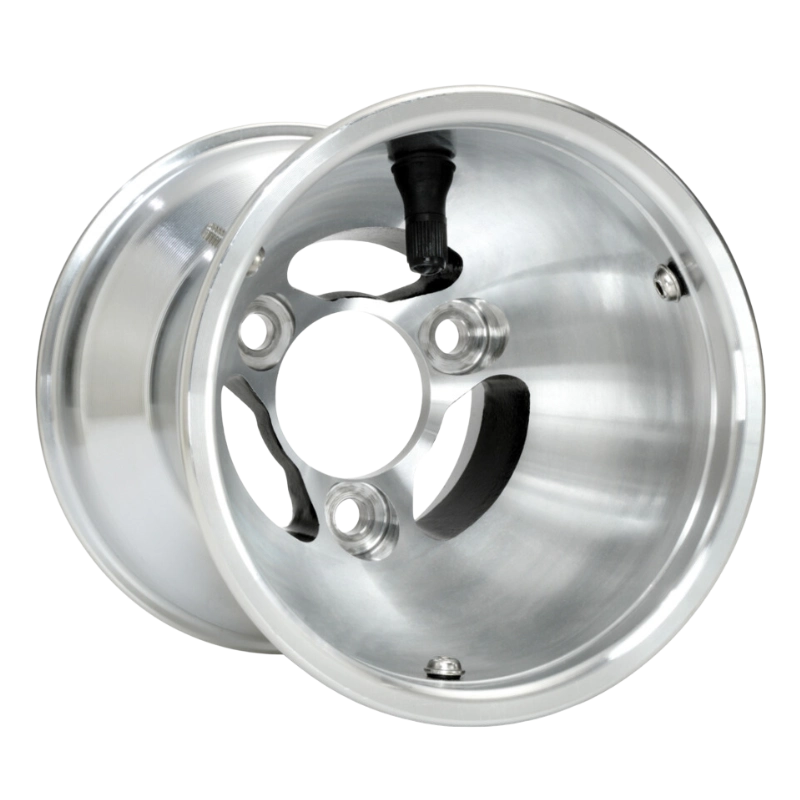
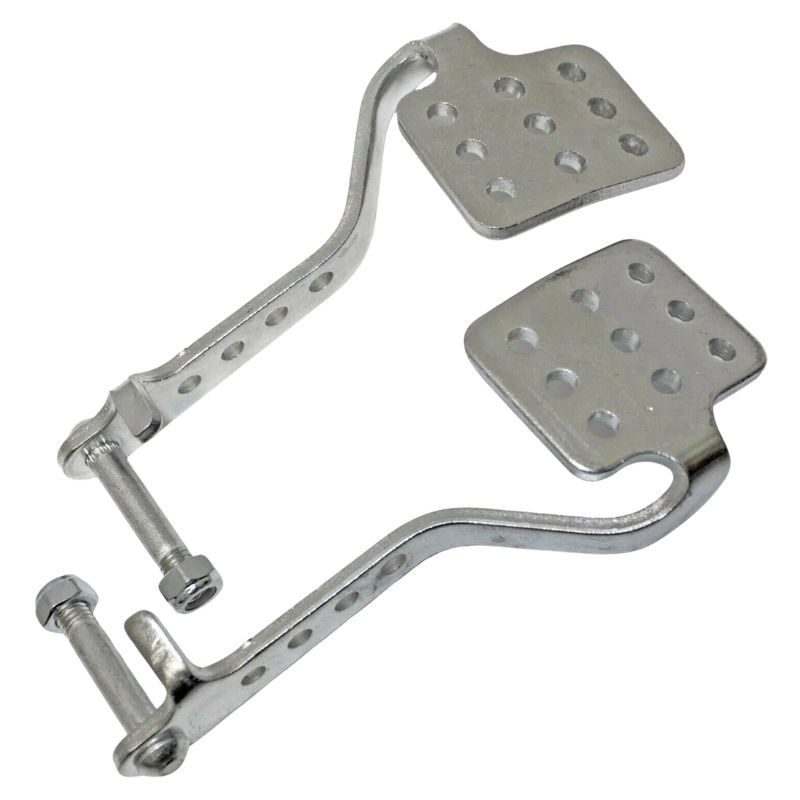
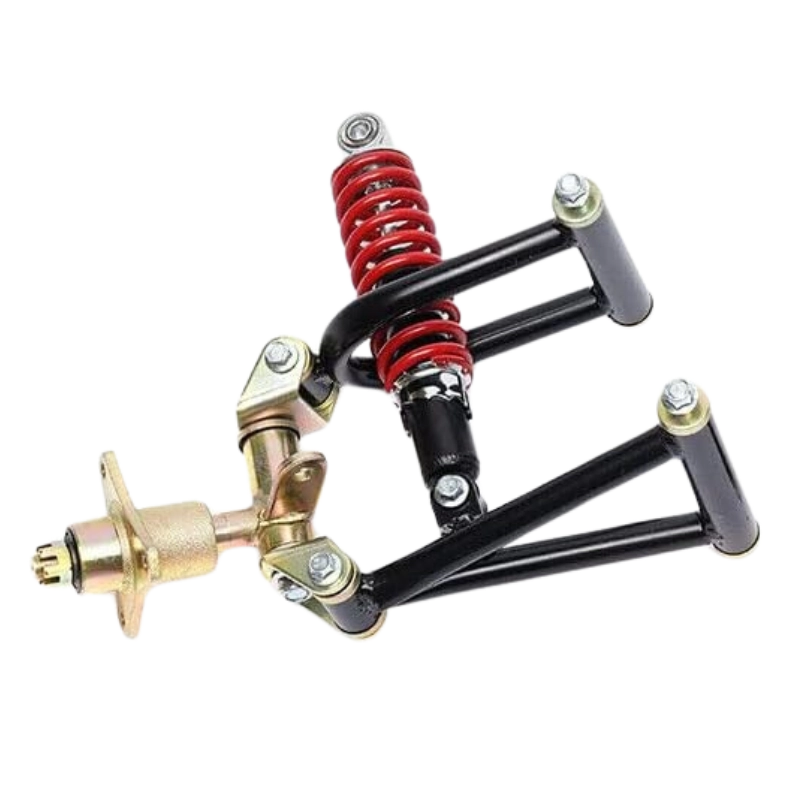
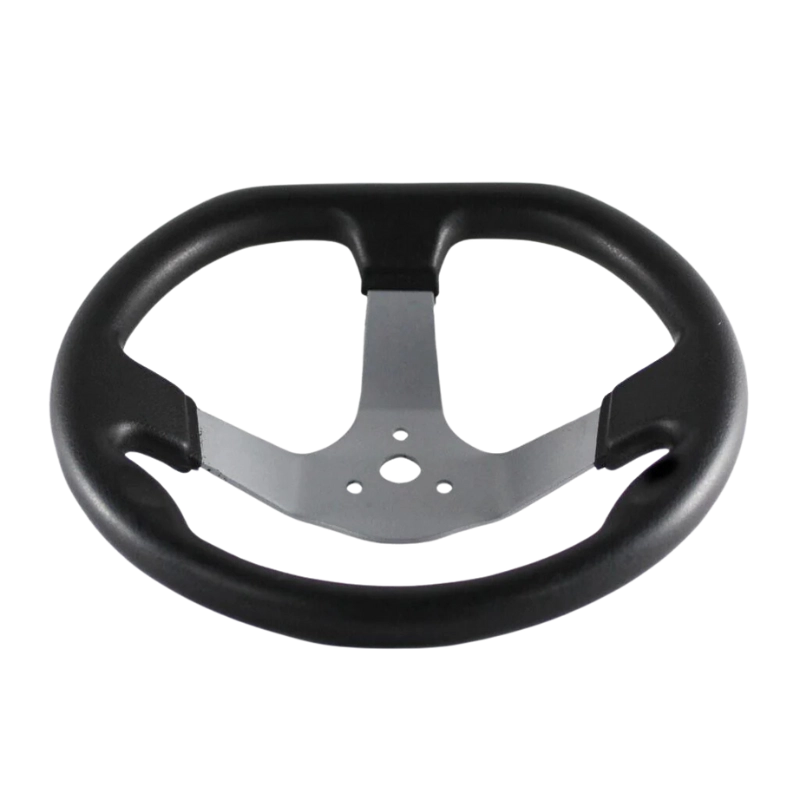
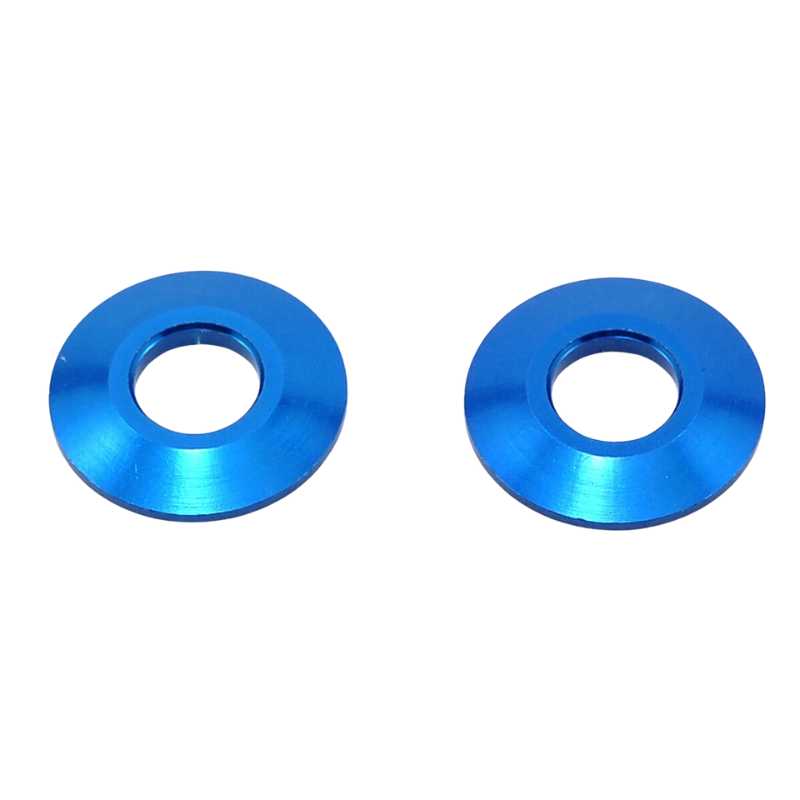
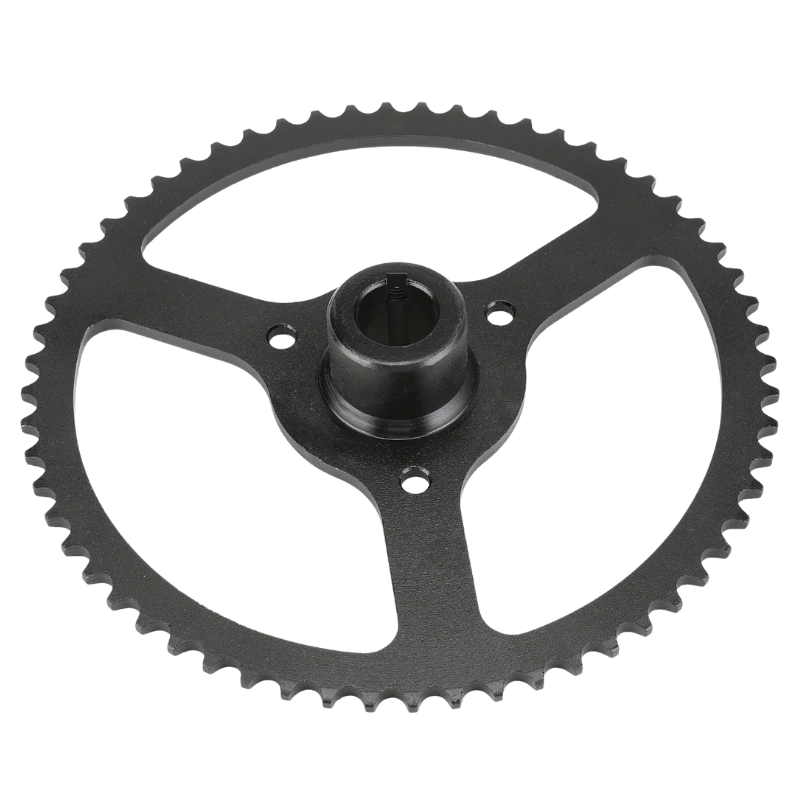
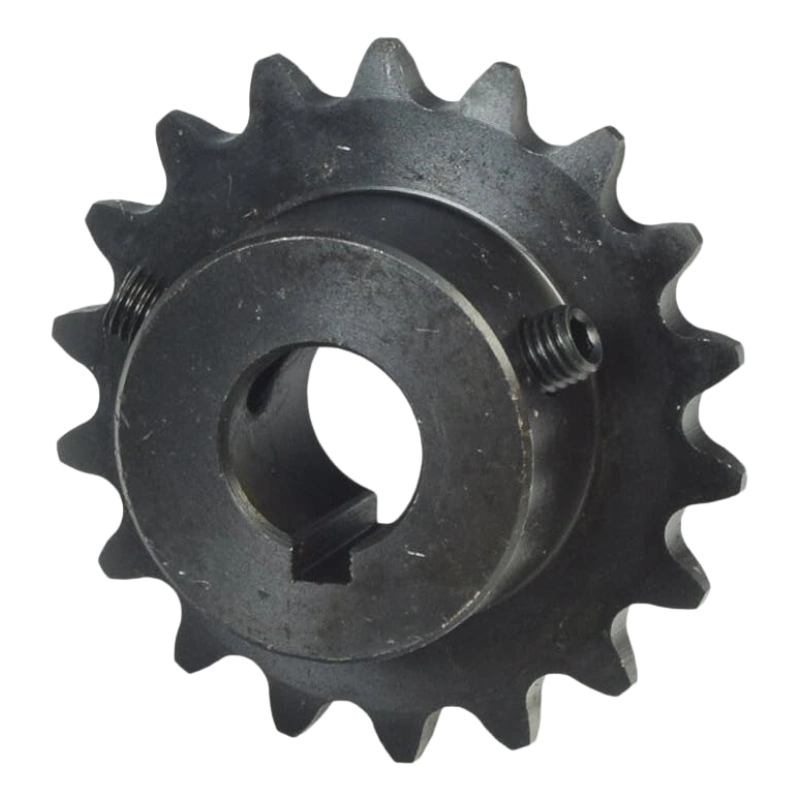
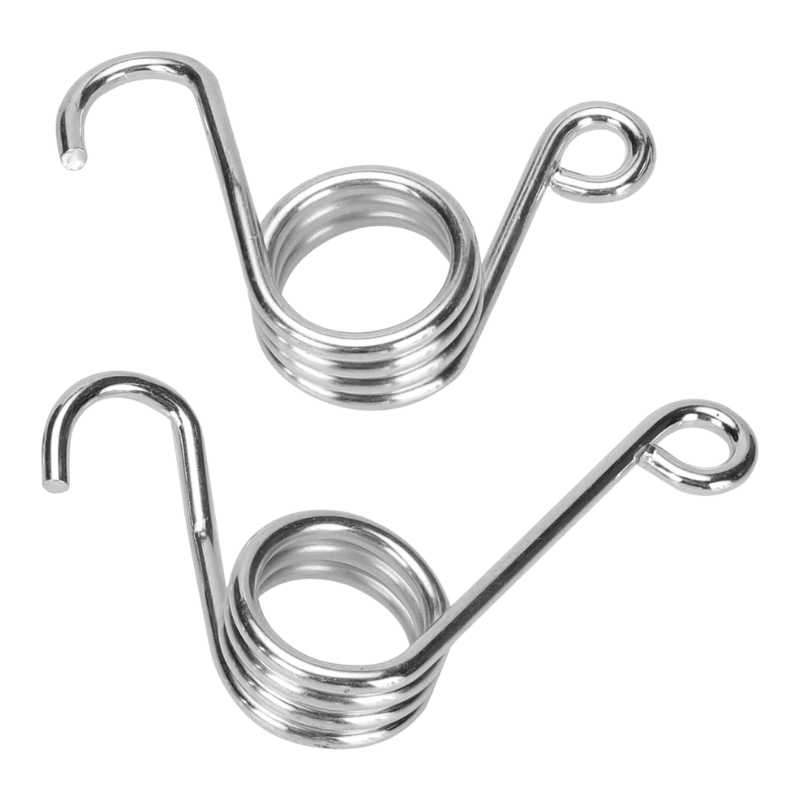
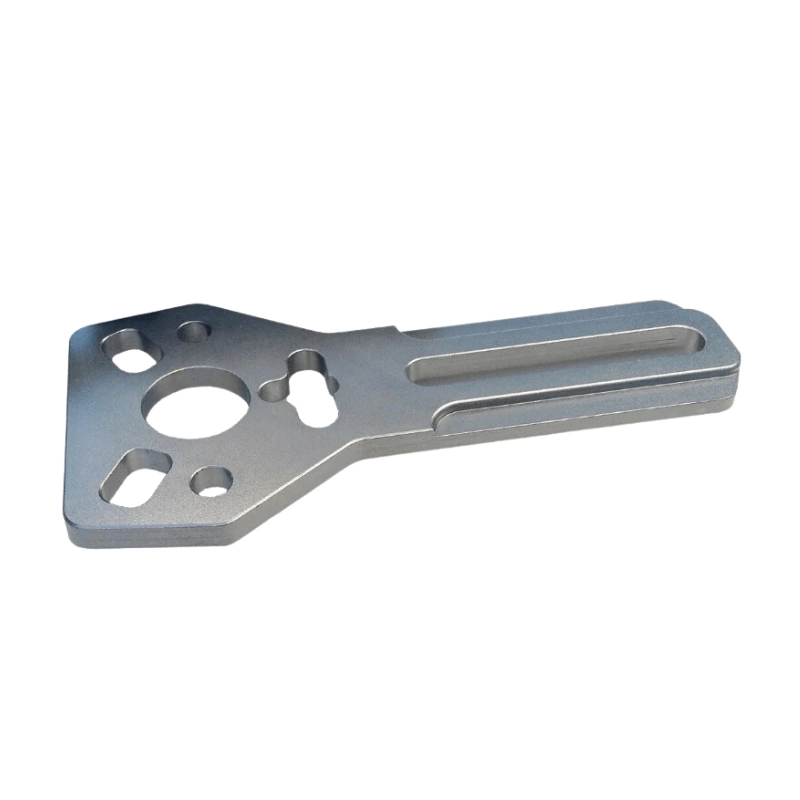
Learn more about our kart parts series, which includes Wheel Hub, Go kart washers and spacer, Go kart wheel rims, Go kart bearings, Go kart steering wheels, Go Kart Springs, Go Kart Sprocket Carrier, 219 Pitch Kart Sprocket, 35 Pitch split axle Sprocket, 428 Pitch Kart Axle Sprocket
